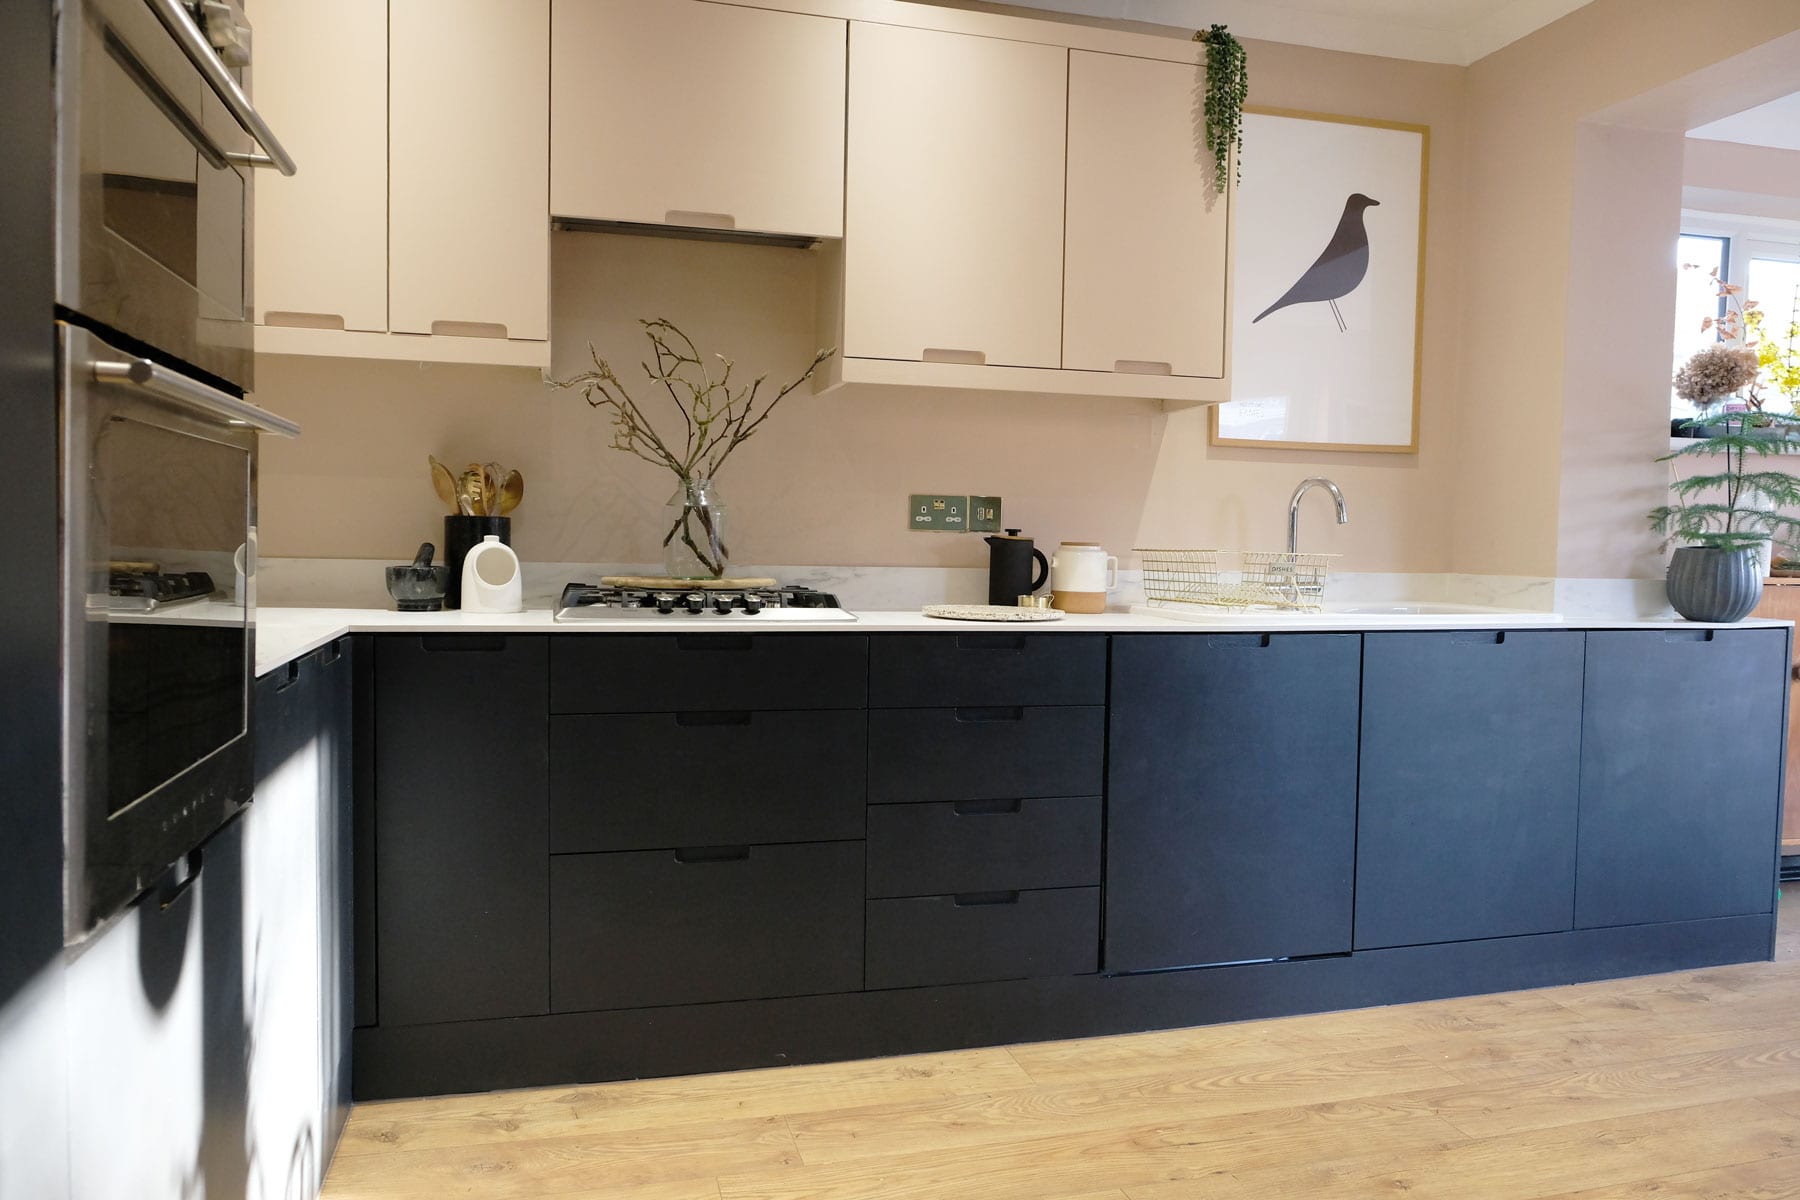
It’s finally finished!
 In my last post about the project, I mentioned that I had met a carpenter that could make new doors for my kitchen as well as replace my worktops, giving my kitchen a completely new lease of life. I went for it and I’m so pleased that I did! I was after a simple design with clean lines, moving away from the details shaker-farmhouse style doors I had already. I’d painted them several times before and was ready to get rid!
 Designing the kitchen
I worked with a carpenter to design the doors that I wanted. To keep them on the budget I went for MDF doors to paint, but I was really tempted by ply…. with my wooden floor I felt it might all be too much wood and I really liked the idea of different colour doors on the top and bottom as there were so many of them. I also wanted to achieve the larder cupboard that I’ve always wanted; hiding away the fridge freezer and washing machine (until it moves when we do the extension) and getting a nice large cupboard for grocery storage.
 I considered finger hole door pulls but having used them at a holiday home I opted for larger hand pulls but only recess ones, not all the way through, as I didn’t want to see the contents of the cupboard.
Worktops
I was kindly gifted an amazing solid laminate work from Worktop Express. I went for Carerra marble-look and I’m so pleased with it. I chose matching upstands to finish the look. Solid laminate is slightly harder for the carpenter to work with (apparently!) and required different types of saw, but the result is so good it’s definitely worth the effort – especially with the savings made from not having real marble.
 Painting process
Once the doors were fitted I started the painting process. This isn’t for the faint-hearted! I wanted a dead flat finish that means lots of thin layers, sanding, more sanding and a final sealing matt varnish (kind of, see below) to finish.
It took approximately 3 days in total I estimate with drying in between. Most definitely a labour of love! Is it dead flat matt? No, not quite. I tried with the matt paint only for a day and instantly marks started to appear. So, I repainted (sigh) and applied a few different varnishes to see which dried the best. The most ‘matt’ of the ‘matt varnishes’, none of which are actually matt, was the Ronseal Interior Matt Varnish which was also water based which is a bonus. I applied it with a foam roller and I’m really pleased with it and it seems to repel whatever the dogs and children throw at it!
Colours
After talking about lots of colour last time, I finally chose F&B Setting Plaster for the wall and top cabinets to keep it light and airy, and F&B Off Black for the base units.
I was going to paint the larder cupboard in one of these too, but instead, opted for a different colour to add to the palette; the new F&B Denimes. I love it!
 I fitted under cupboard lights and purchased a new shelf unit from Ikea to display my plates and bowls, and hung one of my own posters ‘Eames Bird’ above the sink. The final touch was my beautiful pegboard (well sell these on our online shop!)
Finished!
I’m really pleased, I hope you like it too!
If you’re thinking about getting new kitchen doors or having a makeover, get in touch! Happy to pass on carpenter’s details 🙂 He’s very very good!


I love your kitchen ?! Can I ask how much your kitchen makeover cost you?
Thank you! I think in total it cost about £1,500 excluding the worktops which would have cost about £600. I can refer you to the carpenter we’re working with if you’d like 🙂